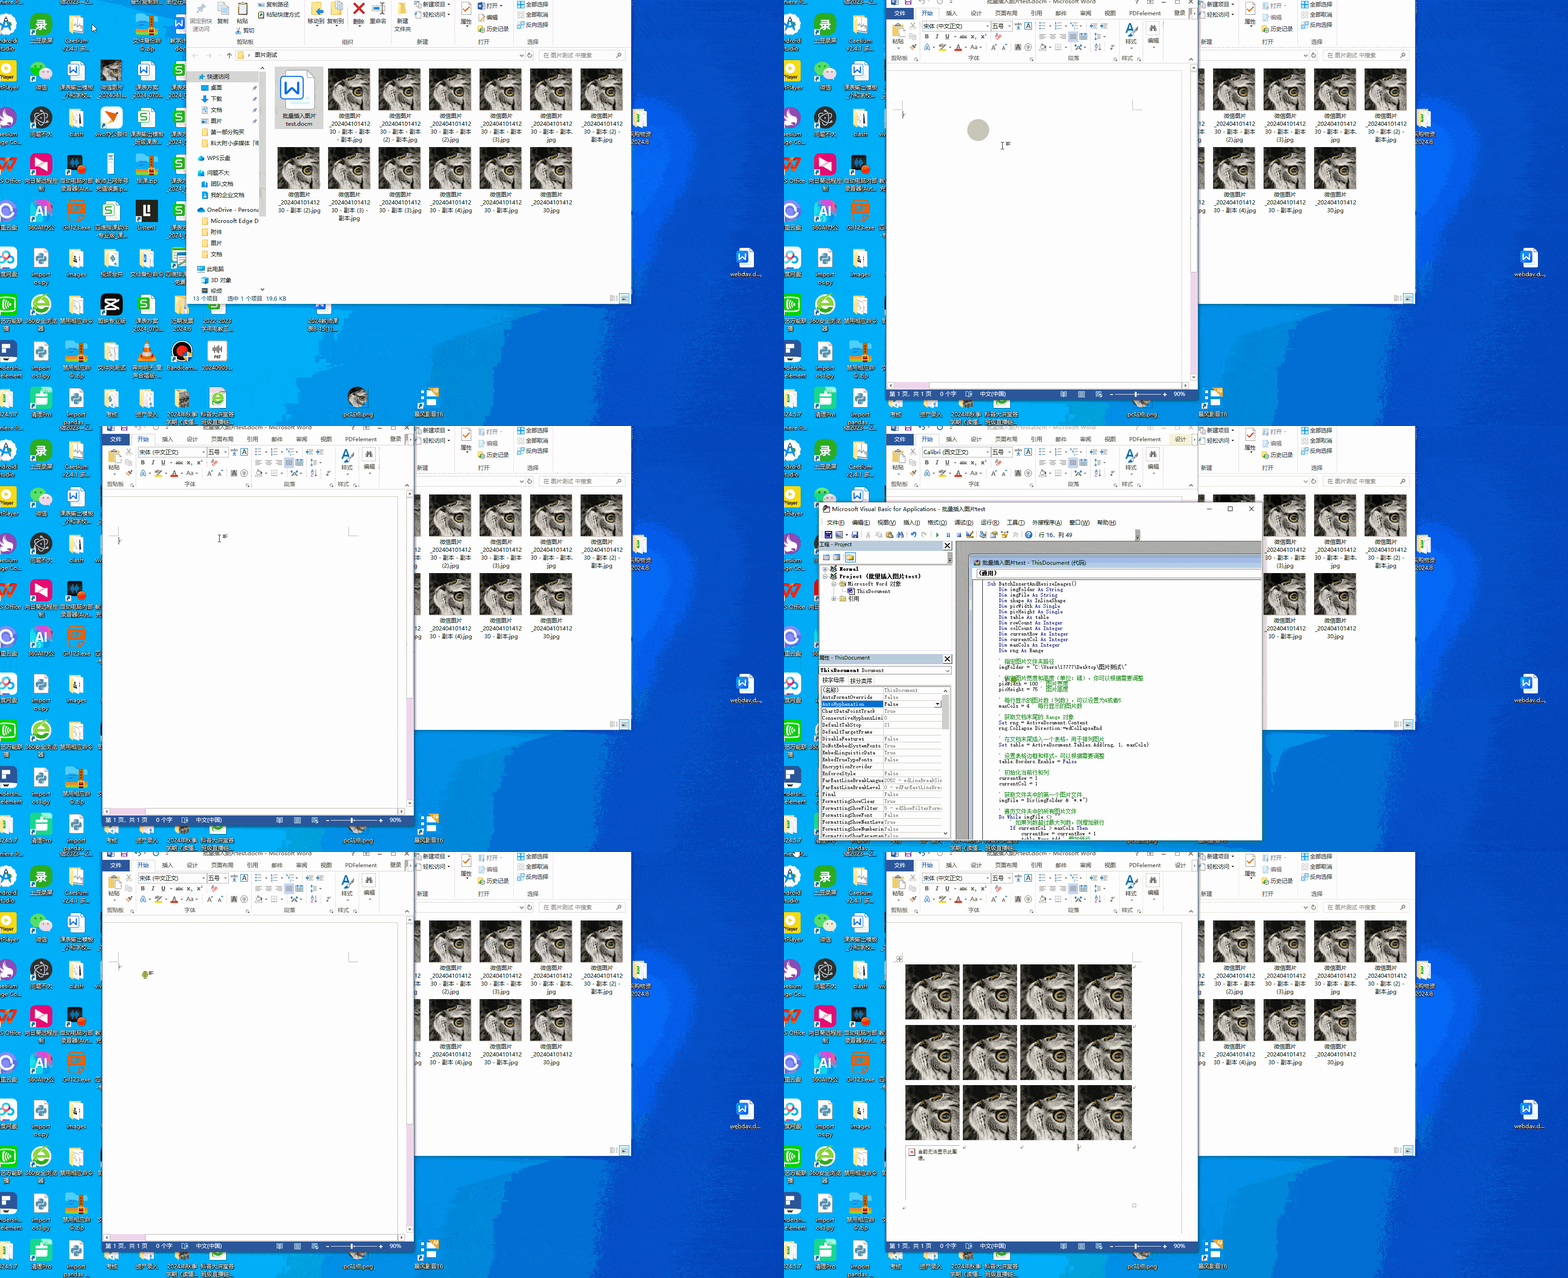
' VBA代码(WORD另存为docm文件格式打开后按住alt+f11讲代码粘贴进入保存,然后alt+f8运行即可)
Sub BatchInsertAndResizeImages()
    Dim imgFolder As String
    Dim imgFile As String
    Dim shape As InlineShape
    Dim picWidth As Single
    Dim picHeight As Single
    Dim table As table
    Dim rowCount As Integer
    Dim colCount As Integer
    Dim currentRow As Integer
    Dim currentCol As Integer
    Dim maxCols As Integer
    Dim rng As Range

    ' 指定图片文件夹路径,这里输入需要插入图片的文件夹地址,请注意最后需要接一个\
    imgFolder = "C:\Users\17777\Desktop\图片测试\"

    ' 指定图片宽度和高度(单位:磅),你可以根据需要调整
    picWidth = 100 ' 图片宽度
    picHeight = 100 ' 图片高度

    ' 每行显示的图片数(列数),可以设置为4或者5
    maxCols = 4 ' 每行显示的图片数

    ' 获取文档末尾的 Range 对象
    Set rng = ActiveDocument.Content
    rng.Collapse Direction:=wdCollapseEnd

    ' 在文档末尾插入一个表格,用于排列图片
    Set table = ActiveDocument.Tables.Add(rng, 1, maxCols)

    ' 设置表格边框和样式,可以根据需要调整
    table.Borders.Enable = False

    ' 初始化当前行和列
    currentRow = 1
    currentCol = 1

    ' 获取文件夹中的第一个图片文件
    imgFile = Dir(imgFolder & "*.*")

    ' 遍历文件夹中的所有图片文件
    Do While imgFile <> ""
        ' 如果列数超过最大列数,则增加新行
        If currentCol > maxCols Then
            currentRow = currentRow + 1
            table.Rows.Add ' 增加新行
            currentCol = 1 ' 重置为第一列
        End If

        ' 在当前单元格中插入图片
        Set shape = table.Cell(currentRow, currentCol).Range.InlineShapes.AddPicture(FileName:=imgFolder & imgFile, LinkToFile:=False, SaveWithDocument:=True)

        ' 调整图片大小
        With shape
            .LockAspectRatio = msoFalse
            .Width = picWidth
            .Height = picHeight
        End With

        ' 切换到下一个单元格
        currentCol = currentCol + 1

        ' 获取下一个图片文件
        imgFile = Dir
    Loop

    MsgBox "图片插入并调整完成!"
End Sub


